Navigate to Sales > Invoices then select the Create New Invoice button. First, you will have to select the Customer by entering the company name the invoice is associated with. Once selected the bill and ship to information will automatically fill in with the data you have on file. 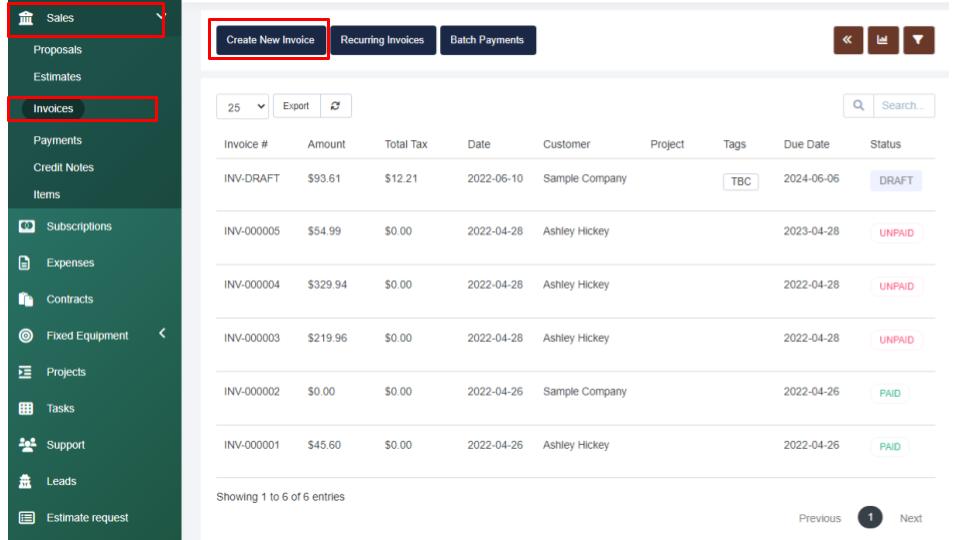
Note: In the event that the customer has invoices available for merging, the system will show a notification on top of the screen where you can select the invoice and select whether you would like to mark the merged invoices as cancelled instead of deleting them. 
After you have the customer details selected the bill to information will pre-fill with the data you have on file. Then the invoice number will auto-fill as the next available, the invoice date will fill as today's date unless you manually change it, and you can set the invoice due date. Below this, you can choose to select the “Prevent sending overdue reminders for this invoice” if desired. Then you can tag the invoice as you see fit, select the allowed payment modes for the invoice, assign a sales agent, select if the invoice is a recurring invoice, and select the discount type if applicable. Then you can leave any admin notes, and select the Add Item drop-down menu to select the items you would like to add. You will have to add each line item to the invoice by selecting the checkmark at the end of the line.
Then you can manually enter in any discount values as a percentage or fixed amount, then enter in any adjustments and review the invoice subtotal and total. Once filled out you can leave any client notes and enter any terms and conditions. From there you can save the invoice as a draft, save, or select the arrow beside save to save & send, save & send later, or save & record a payment.